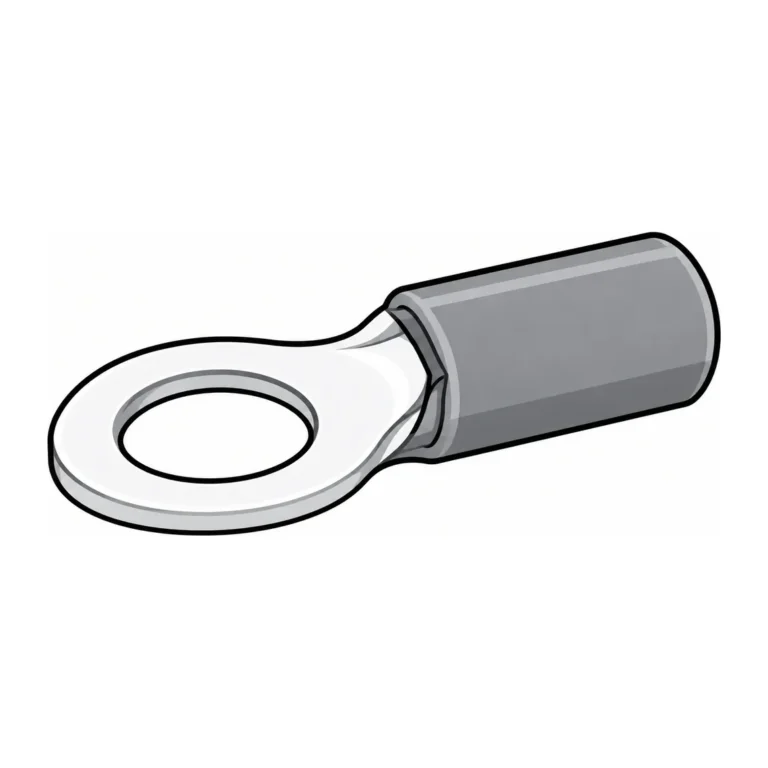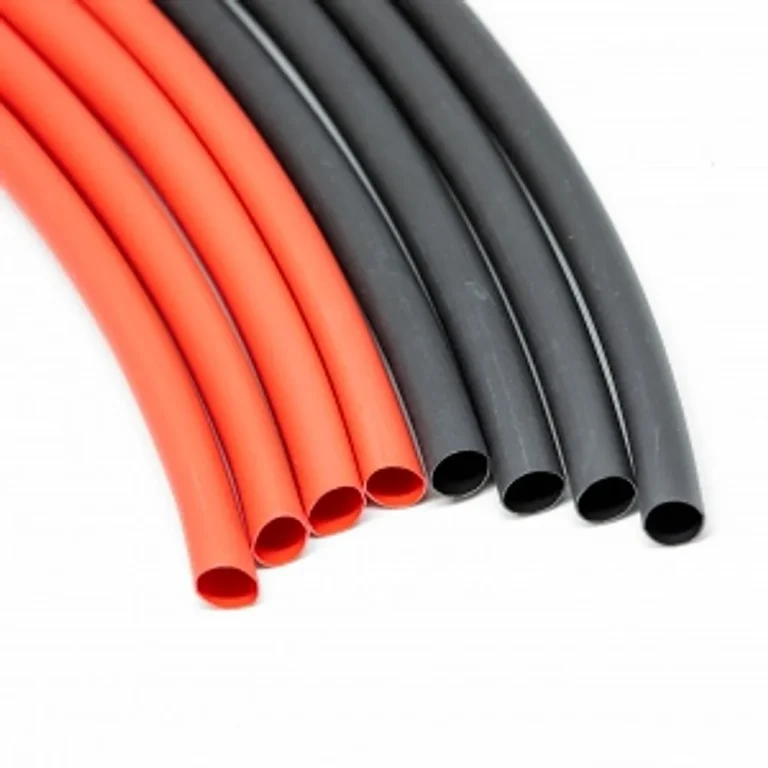
To crimp an insulated terminal properly, match the terminal colour to the wire size, strip the insulation to the length of the metal barrel, insert the wire until the strands reach the end of the barrel, crimp in the matching colour die of a ratchet crimper through its full cycle, then pull test. Seal the join with adhesive heat shrink in any wet location. Mains-voltage work must be done by a licensed electrician.
This guide covers what a good crimp is, the tools you need, the step-by-step method, common faults and how to check your work.
What makes a good crimp?
A good crimp compresses the terminal barrel onto the copper strands so tightly that the metal forms a near cold weld: no gaps for air or water, and a contact area as good as the wire itself.
Done right, a crimp is as strong and reliable as the wire. Done badly, it looks fine on the bench, then loosens, heats up or corrodes months later, often in a place that is hard to reach.
What do I need to crimp terminals?
- Insulated crimp terminals in the colour that matches the wire.
- A ratchet crimping tool with red, blue and yellow dies.
- Wire strippers that cut the insulation without nicking the strands.
- Adhesive dual wall heat shrink or heat shrink joiners for wet locations.
- A heat gun if you are sealing the join.
How do I crimp an insulated terminal step by step?
- Pick the terminal colour to match the wire: red for the smallest wire in this range, blue for the middle size, yellow for the largest. See the colour code below.
- Strip the insulation to the length of the metal barrel, usually 5 to 7mm. No bare strands should show outside the barrel, and the insulation should butt up to it.
- Twist the strands lightly so none splay out. Do not tin the strands with solder before crimping; solder does not crimp well.
- Slide heat shrink onto the wire now if you will seal the join.
- Insert the wire into the terminal until the strands reach the end of the barrel. On ring and blade terminals, you should just see the strand ends at the inspection end.
- Place the barrel in the matching colour die, with the seam facing the correct side for your tool (usually toward the indenter).
- Squeeze the ratchet through its full cycle until it releases by itself.
- Pull test: hold the terminal and tug the wire firmly. The wire must not move.
- Shrink the heat shrink over the join if used, until a small bead of adhesive shows at each end.
What do the red, blue and yellow colours mean?
| Colour | Wire in our range | Typical uses |
|---|---|---|
| Red | 3mm wire | Sensors, LEDs, trailer indicators, light 12V circuits |
| Blue | 4mm wire | Most automotive accessories, horns, fans, lights |
| Yellow | 5mm wire | Driving lights, fridges, camper power, earth straps |
Product names give the wire size as automotive cable is commonly sold in Australia. More in red, blue and yellow terminals explained.
Why use a ratchet crimping tool?
Pliers and cheap stamped crimpers rely on how hard you squeeze, so crimps vary from one to the next and many are under-crimped. A ratchet tool will not open until the crimp is complete, so every crimp gets the same full pressure. The colour-coded dies also shape the barrel correctly for each size, rather than squashing it flat.
What are the common crimping faults?
| Fault | What happens | Fix |
|---|---|---|
| Strands left outside the barrel | Strands can short to nearby metal | Strip to barrel length and twist strands |
| Insulation crimped inside the barrel | Poor contact, joint heats up | Strip a little more insulation |
| Wrong colour die | Loose crimp or crushed barrel | Match die colour to terminal colour |
| Partial crimp from a non-ratchet tool | Wire pulls out later | Use a ratchet crimper, full cycle |
| Strands cut to fit a small terminal | Less copper, joint overheats | Use the next terminal size up |
| No seal on a wet-location join | Water wicks in and corrodes copper | Use adhesive dual wall heat shrink |
How do I check a crimp?
- Pull test every crimp. It should not move.
- Look at the barrel: an even, centred indent, no cracks, no strands outside.
- Check the insulation sleeve is not split.
- On a finished circuit, a terminal that gets warm under load is a sign of a poor crimp. Replace it.
Support crimped looms with cable ties every 300 to 400mm so the weight is not on the terminals; see switchboard cable management.
Quick answers
How much insulation should I strip for a crimp terminal?
The length of the metal barrel, usually 5 to 7mm, so no bare strands show and the insulation butts up to the barrel.
Should I solder before crimping?
No. Solder-tinned strands do not crimp well and can loosen. Crimp bare copper.
Can I crimp with pliers?
It is not recommended. A ratchet crimper gives full, consistent pressure every time.
How do I waterproof a crimp?
Seal it with adhesive dual wall heat shrink, or use heat shrink joiners.